Just for one minute, think about how you feel that moment when you realise you've gotten a puncture. It's soul destroying (not to be overly dramatic BUT that's how we feel when it happens!!)
Cycling is freedom. It's wind in your hair, legs burning with righteous effort and the sheer joy of covering lots of kms under your own power. But let's also be brutally honest: punctures happen. They're the uninvited party crashers of our two-wheeled adventures and they have a knack for showing up at the most inconvenient times – like when you're so far from home, the rain is coming down sideways and your phone battery is hovering at a perilous 3%.
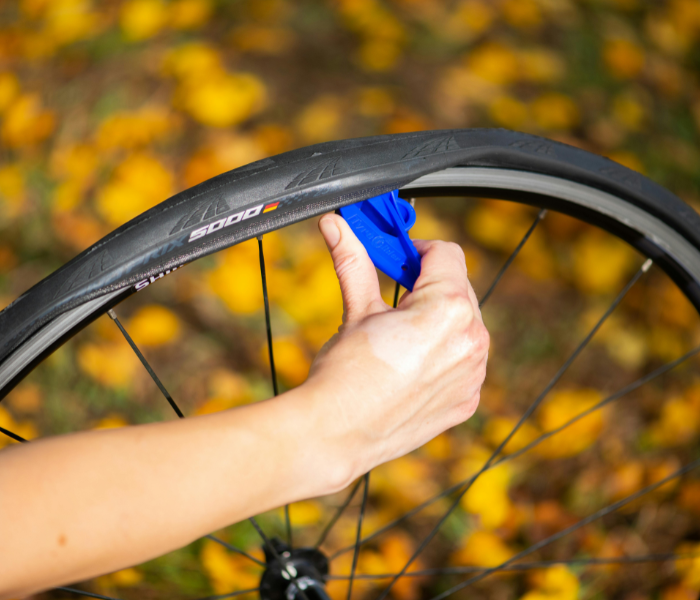
Imagine this: you're out on a crisp autumn morning, the leaves are golden and you're feeling invincible. Then, psssssssSSSSsssss. The dreaded sound. Your rear tyre is flat (damn but it's always the rear one!) Panic sets in. Now, you could wait for a knight in shining lycra to rescue you. But wait! You've practiced this. You've got your tools. You've got this! Instead of a meltdown, you're calmly assessing the situation. You're a cycling warrior, not a damsel in distress. Fixing a puncture isn't some mystical, mechanical rite of passage reserved for bike shop wizards. It's a skill you can master, and trust us, it's a superpower you'll be so glad to have when it's needed.

The old phrase "practice makes perfect" comes to mind here. Trying to change a tube for the first time on a cold, rainy roadside while your fingers are numb and your patience is wearing thin is… less than enjoyable. It's like trying to assemble IKEA furniture in the dark, with mittens on. That's why practicing at home is crucial. Grab your bike, your tools and a spare tube and set up your own personal puncture repair workshop. Watch a few online tutorials (there are tons of fantastic ones out there especially on YouTube), and then give it a go.
- Get to know your tools: Learn how to use your tyre levers without pinching your fingers (or the new tube).
- Practice inflating your tube: Get comfortable with your pump and make sure you know how much pressure to use.
- Try patching a tube: Even if you prefer to change the whole tube, knowing how to patch a small puncture can save you in a pinch.
- Do it a few times: Repetition is key. The more you practice, the more confident you'll become.

Next up - your basic puncture repair kit. Think of it as your cycling first-aid kit. Keep it in a small saddlebag or carry it in one of your jersey pockets, whichever you find best. Here's what we would suggest you have with you:
- Spare inner tube: Always carry at least one, preferably two. Make sure it's the correct size for your tyres.
- Tyre levers: These little plastic tools are essential for removing the tyre.
- Mini pump or CO2 inflator: A pump is reliable, while CO2 inflators are quick but require cartridges.
- Puncture repair patches: For small punctures, patches can save the day.
- Small multi-tool: This can be handy for tightening bolts or removing stubborn objects.

And while we think of it, if you're rocking a fancy set of deep-section wheels, you'll need tubes with longer valves. Standard valves won't reach through the rim. This is a crucial detail that's often overlooked. Check your wheel depth and buy tubes with valves that are long enough. It is no fun being stuck with a tube that has a too short valve!
Tubeless Tyres: The Puncture-Resistant Dream?
Now, let's discuss about tubeless tyres. These are becoming increasingly popular and for good reason. They offer several advantages:
- Fewer punctures: Tubeless tyres use sealant that can automatically seal small punctures.
- Lower tyre pressure: This can improve comfort and grip, especially on rough roads.
- Fewer pinch flats: Since there's no inner tube, you're less likely to get a pinch flat (also known as a snakebite puncture).
However, tubeless tyres aren't completely puncture-proof. Large cuts or punctures may still require a plug or a traditional tube. They also require a little more maintenance, as you'll need to check and replenish the sealant regularly.
Are they worth it? It depends on your riding style and preferences. If you're a serious cyclist who rides long distances or on rough terrain, tubeless tyres can be a great investment. But if you're a casual rider who mostly sticks to paved roads, traditional tubes may be sufficient.
Changing a tube or patching a puncture might seem daunting at first, but it's a fundamental cycling skill that every cyclist should know how to do to ensure you can get yourself home when needed and not having to make "that" call!!
Now, go forth and cycle.
See you on the road soon friends........